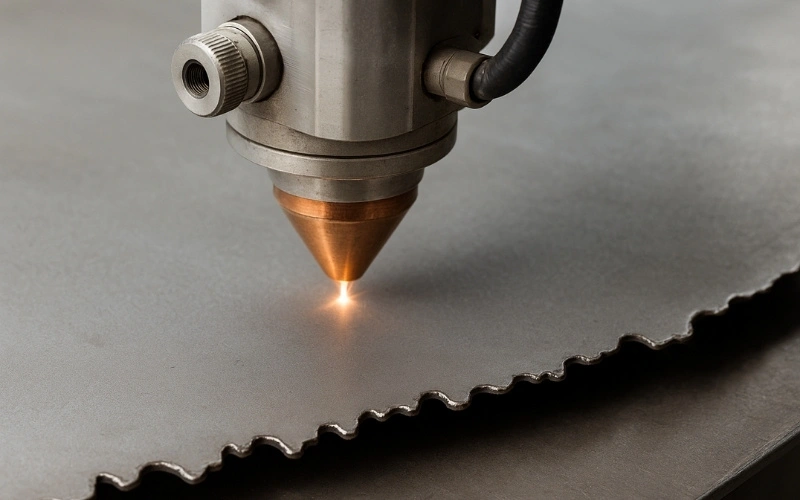
CO2 laser cutting is one of the most widely used technologies in manufacturing and crafting. However, even with high-end machines and materials, issues inevitably arise. In this article, we will break down the most common CO2 laser cutting problems, causes, and actionable solutions, based on real-world experience and best practices.
What are Common CO2 Laser Cutting Problems?
While CO2 laser cutting is widely valued for its precision and versatility, various issues can arise that affect cut quality and productivity. These problems often stem from equipment wear, improper settings, or environmental factors, and they can lead to wasted materials, production delays, or costly rework. Understanding the most common issues and how to resolve them will help maintain consistent, high-quality results.
Incomplete or Poor Cuts
Cuts fail to penetrate fully through the material, leaving sections attached. Often occurs on thicker sheets or when laser energy is insufficient.
Causes
- Weak laser power: CO2 tubes lose output strength as they age or become damaged.
- Dirty or unfocused lens: Dust, soot, or resin on optics scatters the beam and reduces intensity.
- Improper cutting speed: Moving too quickly prevents heat from fully penetrating the material.
- Wrong gas pressure: Low pressure fails to remove molten debris, blocking the cut path.
Solutions
- Measure output with a power meter; replace the tube if the output is <80% of the rated value.
- Clean and refocus the lens using the manufacturer’s focal tool for your material thickness.
- Lower the cutting speed incrementally until complete penetration is achieved without burning.
- Adjust gas to optimal level for material (such as 1 bar air for acrylic, 5 bar O2 for steel).
Burn Marks or Overheating
Material edges are blackened, melted, or warped with visible heat-affected zones.
Causes
- Overpowered settings: Too much laser power at low speeds overheats the material.
- Improper focal length: A misaligned focus point increases heat spread instead of precision.
- Incorrect assist gas: Oxygen causes burning on organic or plastic materials.
Solutions
- Reduce laser power or increase speed to minimize heat exposure.
- Use a focusing tool to ensure correct focal distance (such as a 50.8 mm standard lens).
- Switch to nitrogen or compressed air for clean cuts in non-metals.
Jagged or Wavy Cuts
Edges have irregular waves or are not straight, especially visible on curves.
Causes
- Loose belt tension: Causes backlash and uneven head movement.
- Mechanical backlash: Worn gears or pulleys cause cutting delays.
- Loose guide rails or motors: Vibrations create distorted paths.
Solutions
- Adjust belts to manufacturer specifications without overtightening.
- Replace worn drive components to restore precision.
- Tighten rail and motor mounts; lubricate linear guides.
Laser Not Firing
The head moves, but no beam is emitted; the job runs without cutting.
Causes
- Faulty laser power supply: No high-voltage output to the tube.
- Disconnected or faulty water chiller: Safety interlock prevents operation.
- Safety interlock tripped: Door open or emergency stop engaged.
Solutions
- Test and replace the power supply if the voltage is absent.
- Ensure the chiller is running and sensors are connected.
- Check and reset all interlocks before restarting.
Poor Engraving Resolution
Engraving is blurry, with misaligned or double lines.
Causes
- Improper DPI setting: Too low loses detail, too high can burn.
- Loose X-axis motor: Allows drift between passes.
- Dirty encoder strip: Interferes with position detection.
Solutions
- Use 300–500 DPI for most materials to balance clarity and speed.
- Tighten motor mounts to prevent wobble.
- Clean the encoder strip carefully with alcohol.
Frequent Laser Tube Failures
The lifespan of tubes is much shorter than expected.
Causes
- Overheating due to inadequate cooling.
- Running near 100% power continuously.
- Electrical surges or poor grounding.
Solutions
- Use distilled water and keep cooling <25°C.
- Limit to 90% max power for continuous runs.
- Install surge protectors and verify proper grounding.
Uneven Cutting Depth
One side of the piece is fully cut while the other is only partially through.
Causes
- Uneven machine bed: Causes varying focal distance.
- Mirror misalignment: The beam loses focus power at certain positions.
- Warped material: Changes focus height during cutting.
Solutions
- Level the bed using dial indicator readings.
- Align mirrors for equal beam position in all corners.
- Flatten the material with clamps or a vacuum hold-down.
Lens Cracking or Contamination
The lens becomes foggy, pitted, or cracked prematurely.
Causes
- Heat buildup from dirt or resin on the lens.
- Improper cleaning causes scratches.
- Back reflection from reflective materials.
Solutions
- Clean the lens regularly to prevent debris accumulation.
- Use lens-safe wipes and alcohol only.
- Avoid reflective metals or use protective optics.
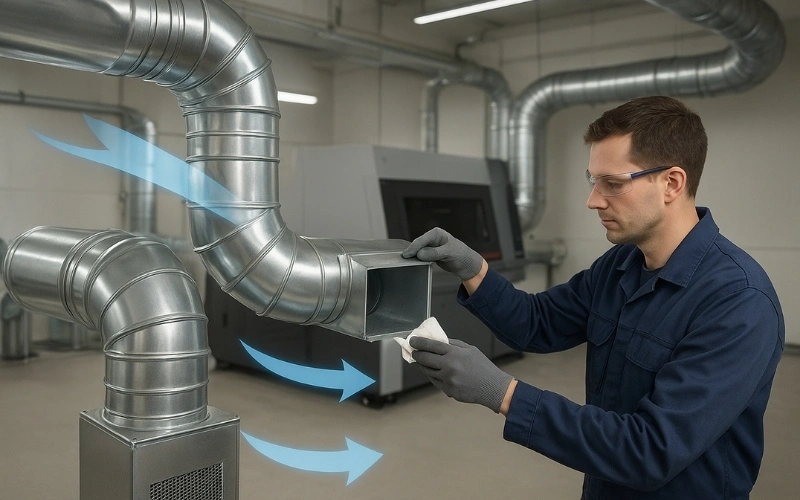
Smoke Build-Up and Poor Ventilation
Smoke lingers inside the work area, affecting cut quality and safety.
Causes
- Blocked or broken exhaust fan.
- Leaky air ducts reduce airflow.
- Clogged filters in the fume extraction system.
Solutions
- Repair or replace exhaust fans.
- Seal duct connections to restore suction.
- Replace filters per the maintenance schedule.
Software or File Errors
Cuts are misaligned, skipped, or distorted due to data issues.
Causes
- Corrupted design files from unsupported software.
- Firmware and software version mismatch.
- Electrical interference during data transfer.
Solutions
- Re-export designs using compatible file formats.
- Update both firmware and control software to match versions.
- Improve grounding to reduce interference.
How to Avoid CO2 Laser Cutting Problems?
Many of the most common CO2 laser cutting problems can be avoided entirely with the right preventive measures. By targeting the root causes before they develop, you not only maintain cutting quality but also prevent costly downtime and equipment repairs. Below are proven strategies to keep each type of problem from occurring in the first place.
Maintain Optimal Laser Power Output
A stable and strong laser beam is essential for clean, consistent cuts.
- Regular power checks: Use a laser power meter monthly to ensure output is within 90–100% of rated strength.
- Avoid overdriving the tube: Run at 80–90% of maximum power for prolonged jobs to slow tube wear.
Cooling consistency: Keep chiller water at 20–25°C to protect tube efficiency.
Keep Optics Clean and Correctly Aligned
Clean and precisely aligned optics ensure maximum energy delivery to the cutting point.
- Daily cleaning: Remove dust, soot, and residue from the lens and mirrors before each shift.
- Proper cleaning tools: Use lens-safe wipes and alcohol to avoid scratches.
- Alignment check: Perform a beam alignment test weekly to ensure optimal focus at every bed position.
Control Cutting Parameters
Matching the right speed, power, and assist gas to each material prevents unnecessary heat damage and poor cut edges.
- Match speed and power: Adjust parameters based on material thickness and type; slower speeds for thick materials, faster speeds for thin ones.
- Use the correct assist gas: Air for general materials, nitrogen for oxidation-free metal cuts, and oxygen for high-speed thick metal cutting.
- Test before production: Run a small sample cut to confirm parameters before large jobs.
Ensure Mechanical Stability
Well-maintained mechanical components keep the cutting path accurate and vibration-free.
- Belt and pulley inspection: Check tension weekly to prevent backlash and drift.
- Rail lubrication: Lubricate guide rails monthly to reduce vibration and wear.
- Secure mounts: Tighten motor and frame bolts to maintain stability during high-speed cuts.
Maintain Clean and Efficient Ventilation
Proper ventilation ensures a clean cutting path and prevents residue from interfering with the laser beam.
- Clean exhaust system: Inspect and clear fans, ducts, and filters weekly to maintain airflow.
- Seal air leaks: Ensure all duct joints are airtight to prevent suction loss.
- Fume extraction for sensitive materials: Use additional filtration when cutting acrylic, leather, or rubber to reduce residue.
Protect Software and Electrical Systems
Safeguarding the machine’s digital and electrical systems helps maintain reliable and error-free operation.
- Backup regularly: Save copies of machine settings and design files to prevent reconfiguration delays.
- Use surge protection: Install a UPS or voltage stabilizer to protect from power fluctuations.
- Keep firmware updated: Ensure machine firmware matches software version for compatibility.
Conclusion
Understanding common CO2 laser cutting problems and knowing how to address them is essential for keeping your machine running at peak performance. By quickly diagnosing issues, applying effective fixes, and following a consistent preventive maintenance routine, you can minimize downtime, extend equipment life, and maintain high-quality cutting results for every project.
FAQs
A noticeable drop in cutting ability, especially on materials you previously cut with ease, is a key indicator. You can confirm by measuring output with a laser power meter. If the reading is significantly below the rated power (typically
A cracked lens should always be replaced. Cracks distort the beam, reduce cutting performance, and can cause dangerous heat buildup, leading to further equipment damage.
The two biggest culprits are an uneven machine bed and mirror misalignment. Both can alter the beam’s focus point, causing one side of the work area to cut better than the other. Regular leveling and alignment checks solve this.
Absolutely yes. Updates often include bug fixes, improved compatibility with file formats, and better motion control algorithms. Keeping your firmware and software in sync helps avoid glitches and unexpected errors.